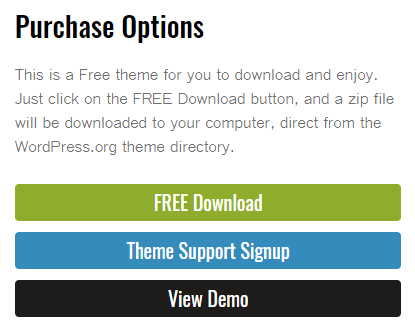
In most cases, my free themes will be submitted to the wordpress.org theme directory where you can download and also get free support. Although the Start Blogging theme is stored at the WordPress website, I provide a direct download link for you when you are on the Start Blogging details page.
I’m going to show you two methods of downloading and installing this theme.
Method 1 – Manually Downloading
This method is when your free theme is not live yet at the wordpress.org website theme directory (usually because it’s waiting to get reviewed), or if you simply prefer to download it yourself, regardless.
- Go to the Start Blogging details page and click on the Free Download button – this will automatically download a zip file. As a side note, if the theme is live at the WordPress website, then you should be able to download it from the theme’s info page there by clicking on the Download Theme button. In the case of this theme, you can find the Start Blogging theme page here.
- After downloading, go to your WordPress website’s admin area and then >> Appearance >> Themes >> Add New (located at the top of the page)

- Browse for and upload the theme zip file

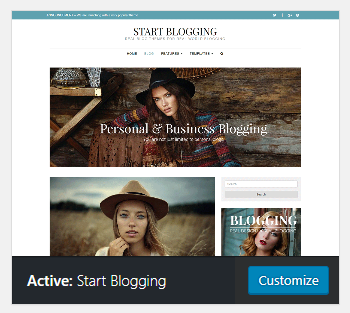
- Activate your theme when successfully uploaded (if something went wrong, contact me through the support forum). Once your theme is active, it should look like this:
- To get started with your setup, you can visit the theme’s info page which contains important information about support, child themes, and of course, info about upgrading to the Start Blogging Pro version. There are two ways to find this page, the first is the top of the page right after you install and activate, the other is located in the admin’s Appearance menu group.

- Now you are all set and ready to begin creating your website.
Method 2 – Using the Theme Installer in WordPress
This method is the most common way of installing a theme, but this “only” works if the theme is live in the theme directory at the wordpress.org website. For this tutorial, I will install a default WordPress theme because at the time of writing this, the Start Blogging theme is not live yet.
- In your admin, go to Appearance >> Themes
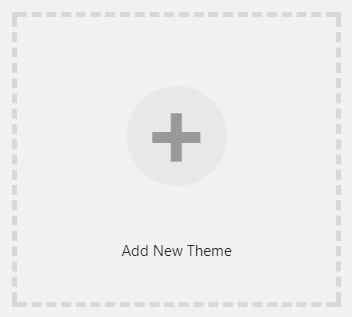
- Click on the Add New button at the top of the page, or click on the big square block in the themes page labeled as Add New Theme.
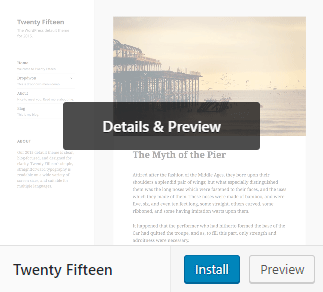
- You should see a search field in the upper right area above the themes showing…type in Start Blogging and then the theme should show up. However, in the case of this tutorial and because this theme is not live yet, I’m going to type in Twenty Fifteen.

- Click on the Install button and once it gets installed, you can activate it.
Theme Updates
For free themes that are in the theme directory at wordpress.org, whenever an update comes along, you will get an update notice in your admin area and the ability to update it by clicking on the update link. For professional (commercial) paid themes, this is usually going to be different. Some theme sites offer the same method of updating (if they are using a certain purchase/download plugin) while others will require you do do a manual update — uploading the new theme files using an FTP program. However, there is a way around this which I will save for a separate tutorial.