Image Box widgets give you a visual link concept utilizing image backgrounds and a custom link to take the user to any location.

Prepare Your Images
Because these are independent images (not belonging to a post or page), we recommend preparing your images for uploading with a size of 420×275 pixels. This might seem large, but when someone is viewing your page in mobile mode, the columns collapse into 1 column and we need the image to give a wider view.
Setup Your Image Widgets
- Go to Appearance >> Widgets
- Find the Marjoram: Imagebox widget and drag it into the Featured 1 sidebar position (or any other).
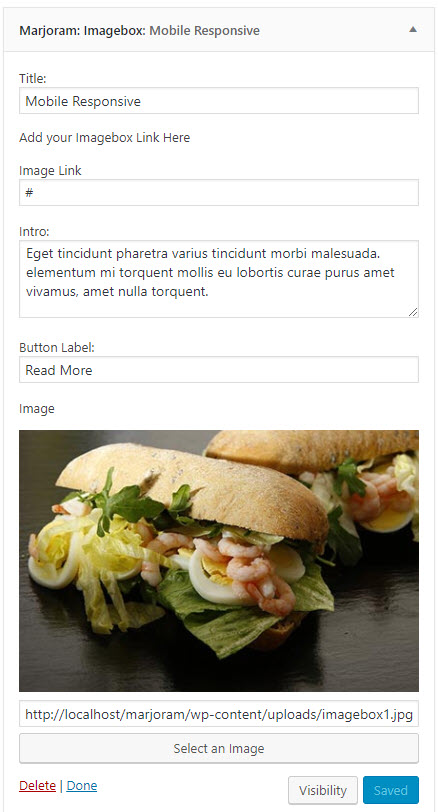
- After dragging a widget into your sidebar, you will begin adding the information and adding an image. The # sign you see gets replaced with an actual URL:
- Repeat the above steps for the next Promo Image widget.
- Click “Save & Publish“
Change the Width of the Featured Section
With this theme, you can change the width of the featured sidebar section and by doing so, you can expand your image widgets (or whatever else you put there) to be wider. This is just like the setting for the Post Slider width option. Basically you can make your slider and your featured sidebar wider than your content area….just like the demo website shows.
- Go to Appearance >> Customize >> Theme Options
- Look for the “Featured Sidebar Size” setting
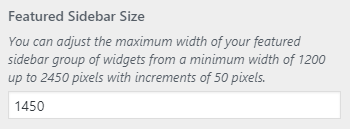
- Enter in the width or use the up/down arrows to the right as you mouse over the field (you can increase or decrease in increments of 50px from 1200px to 2450px)
- Click “Save & Publish“
Note: The demo site shows the featured sidebar area at 1450px in width.